HVAC systems are the backbone of climate control in most homes and businesses, providing the warmth you need during cold winters and the cool air that keeps you comfortable in summer. However, even the best HVAC systems are vulnerable to wear and tear over time. One of the most common issues homeowners face is holes or leaks in their ductwork. If you’ve noticed uneven temperatures or unusual noises coming from your HVAC system, there’s a good chance you have a hole in your ductwork. Repairing these holes quickly can prevent further damage to your system and improve your energy efficiency.
At American Air Duct Services, we specialize in HVAC maintenance, repairs, and air duct cleaning. Our team of certified professionals has years of experience working with HVAC systems and ductwork, ensuring your home’s air quality and comfort are always at their best. In this article, we’ll walk you through the process of how to repair holes in HVAC ducts, whether you’re a DIY enthusiast or considering professional assistance.
Why Repairing Holes in HVAC Ducts is Important
Before we dive into the steps of repairing holes in your ductwork, let’s talk about why it’s essential to fix these issues promptly. A hole in your HVAC ductwork can lead to several significant problems:
- Reduced Efficiency: When air escapes from a hole in your ducts, your HVAC system has to work harder to maintain the desired temperature. This can result in increased energy consumption and higher utility bills.
- Uneven Temperature Distribution: If some areas of your home are too hot or too cold while others feel comfortable, a hole in the ducts could be the culprit. It can disrupt the airflow and cause inefficient heating or cooling.
- Poor Indoor Air Quality: Holes in your ducts can also lead to dirt, dust, and other contaminants being pulled into your system. These contaminants are then circulated throughout your home, affecting the air quality and potentially triggering allergies or respiratory issues.
- Damage to the HVAC System: If left unaddressed, holes can cause the HVAC system to overwork, which can lead to more severe damage over time, potentially requiring expensive repairs or even system replacement.
Tools You’ll Need for the Job
To repair a hole in your HVAC ducts, you’ll need a few tools and materials. While you can hire professionals for the job, it’s also possible to perform the repair yourself if you have the necessary tools and skills. Here’s a list of items you’ll need:
- Duct Tape: Ensure you use high-quality duct tape specifically designed for HVAC systems. Regular tape won’t hold up to the demands of temperature and air pressure.
- Sheet Metal or Patch Kit: For larger holes, you may need a metal patch to seal the hole properly. Sheet metal is a common choice for this.
- Tin Snips: These are necessary for cutting sheet metal to the correct size.
- Screws or Rivets: You’ll need these to secure the sheet metal patch in place.
- Utility Knife: A sharp knife will help you cut through insulation and other materials around the ductwork.
- Cleaning Cloth: Use this to clean the area around the hole before applying the patch.
Step 1: Locate the Hole
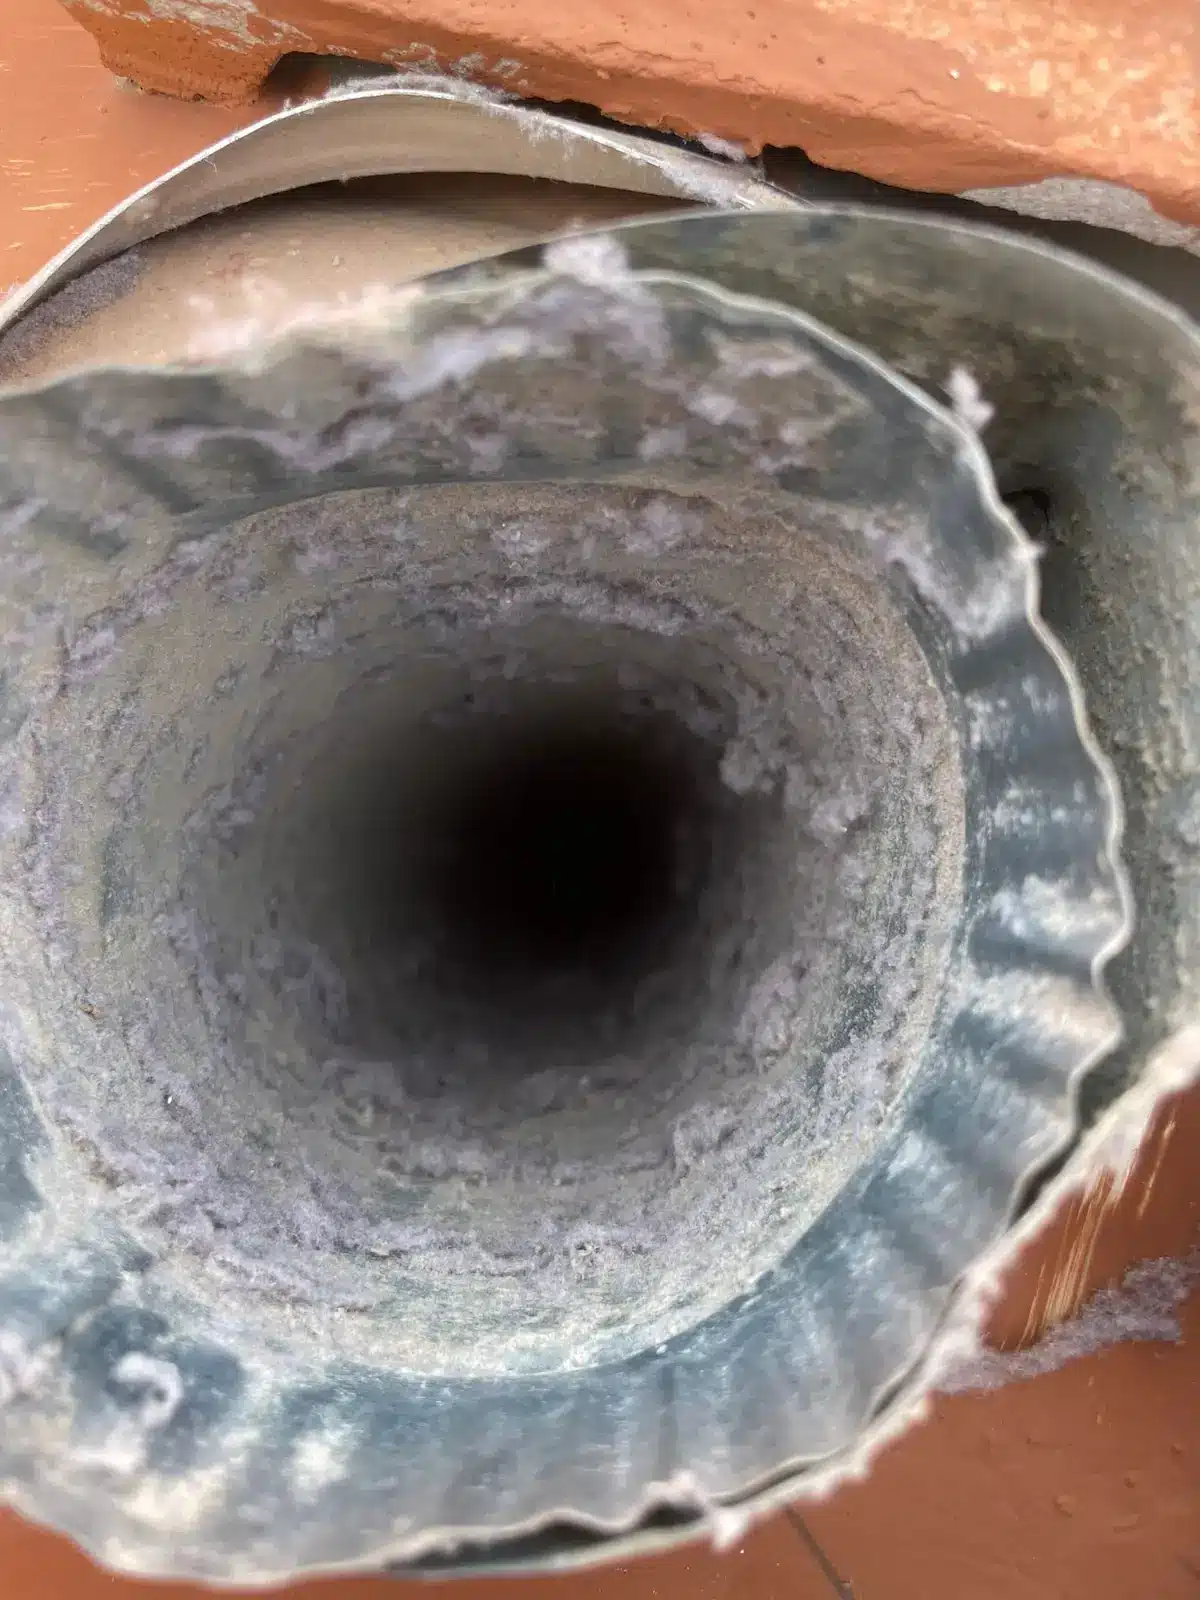
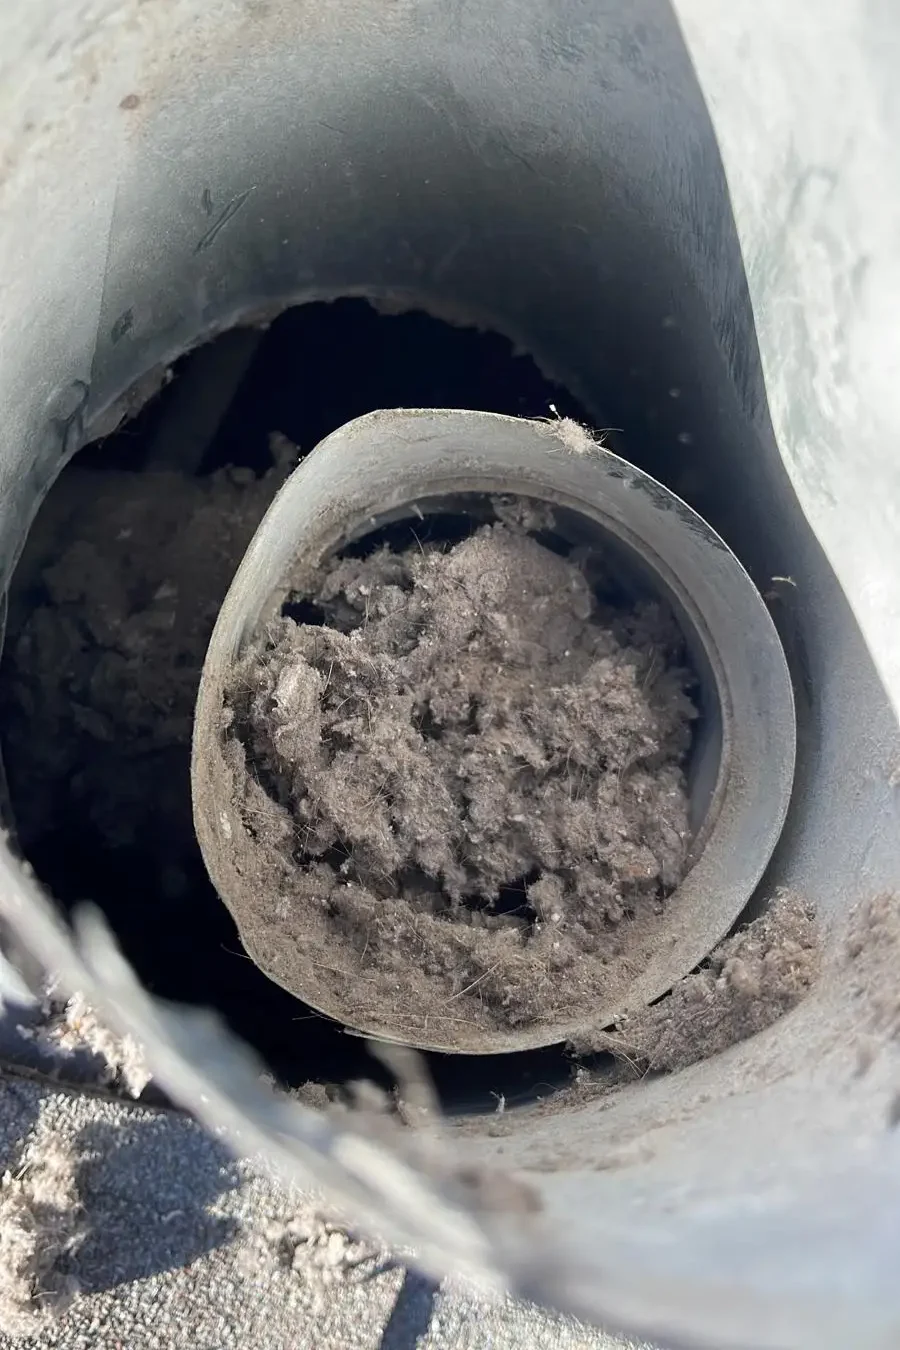
The first step in repairing holes in HVAC ducts is locating the hole itself. Sometimes, holes in ducts are obvious, especially if you hear air escaping or see visible damage. However, there are times when the hole might be more subtle. If you’ve noticed uneven air distribution or higher-than-usual energy bills, it’s time to inspect your ductwork more closely.
Check areas where the ducts are accessible, such as in attics, basements, crawl spaces, or along walls. Look for signs like:
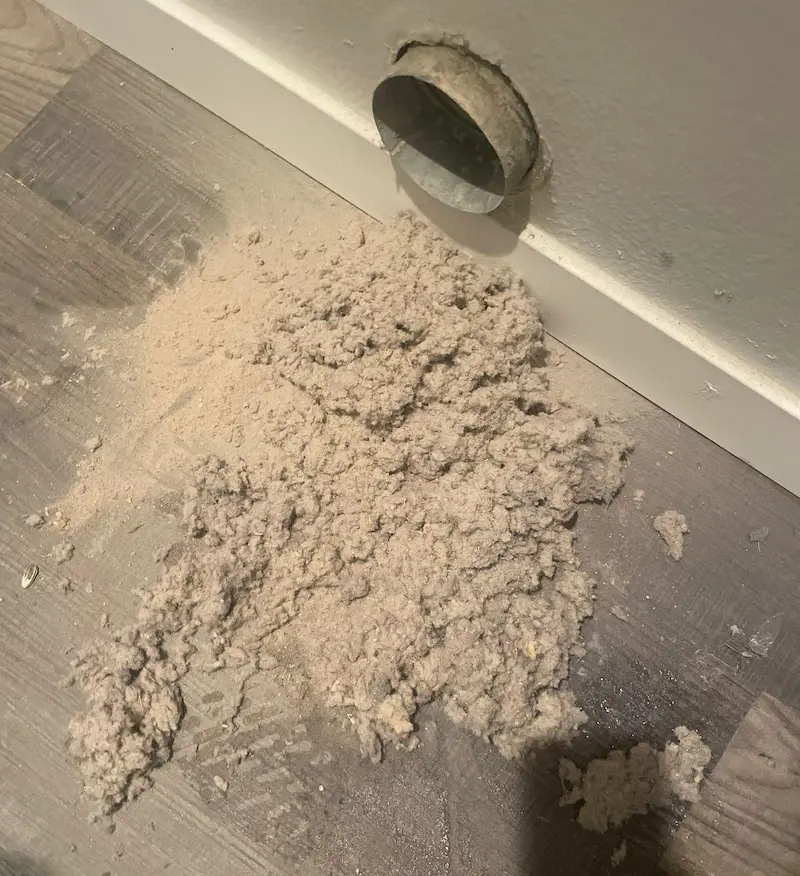
- Dust buildup around the ductwork
- Visible tears or punctures in the duct material
- A decrease in airflow or uneven heating and cooling
If the hole is small, it may not be visible to the naked eye. You may need to feel around the ductwork for air leakage or use a smoke pencil to detect leaks.
Step 2: Turn Off Your HVAC System
Before you start any work on your HVAC system, always turn it off. This will prevent air from blowing through the system while you’re working, which can stir up dust and debris, making the job messier and potentially less effective.
Additionally, turning off the system ensures that you won’t get injured while working with the ducts, as some HVAC systems can have electrical components or moving parts that can cause harm if they’re not deactivated.
Step 3: Clean the Area Around the Hole
Once you’ve located the hole, it’s crucial to clean the area around it thoroughly. Use a cleaning cloth to remove any dust, dirt, or debris. Cleaning the surface ensures that the patch you apply will stick properly, creating a tight seal to prevent further air leakage.
You should also check for any moisture around the hole, especially if you have flexible ducts. If you find moisture, it could be a sign of a more serious issue, such as condensation buildup, and you may need to address that before proceeding with the patch.
Step 4: Apply the Patch
Now that the area is clean and dry, it’s time to patch the hole. The method you use depends on the size of the hole.
For Small Holes:
If the hole is relatively small, you may be able to use duct tape to seal the area temporarily. Make sure the tape is applied tightly around the hole, and ensure that it adheres well to the duct surface. This is a short-term fix and may need to be replaced periodically.
For Larger Holes:
For larger holes, duct tape won’t be enough. You’ll need a sheet metal patch to cover the hole. Here’s how to apply a sheet metal patch:
- Measure the Hole: Measure the size of the hole and cut a piece of sheet metal that is at least 1-2 inches larger than the hole on all sides. You can use tin snips to cut the sheet metal.
- Place the Patch: Position the sheet metal patch over the hole. Make sure it covers the entire hole, leaving no gaps.
- Secure the Patch: Use screws or rivets to secure the patch in place. Make sure it is firmly attached to the ductwork to avoid air leakage.
- Seal the Edges: Use high-quality duct tape around the edges of the patch to seal any small gaps. This will help ensure the repair is airtight and long-lasting.
Step 5: Test the Repair
Once the patch is in place, it’s time to turn your HVAC system back on and test the repair. Check for any air leaks around the patch. If you notice air escaping, you may need to reapply the tape or adjust the patch to make it more secure.
Additionally, check that the airflow in your home has returned to normal and that the temperature is evenly distributed. If the patch is working correctly, you should notice an improvement in both airflow and energy efficiency.
Step 6: Monitor for Future Issues
After completing the repair, it’s important to monitor the patched area for any future issues. Check periodically for new holes or leaks and address them as needed. If the damage is extensive, or if you notice frequent issues with your ductwork, it may be time to contact American Air Duct Services for a more thorough inspection and possible replacement of your ductwork.
When to Call the Experts
While repairing holes in your HVAC ducts is a manageable DIY project, there are times when it’s best to call in the professionals. If you don’t feel comfortable working with ductwork, or if the hole is too large or complicated to repair on your own, it’s time to reach out to American Air Duct Services.
Our team of certified technicians has the knowledge and experience to handle any HVAC ductwork issues efficiently. We can assess the condition of your ducts, repair any holes, and ensure that your system is running at peak performance. Don’t risk further damage to your HVAC system—let us take care of the problem for you.
Why Choose American Air Duct Services?
At American Air Duct Services, we are committed to delivering the best possible service to our customers. With years of experience, our team is equipped to handle any ductwork repair, big or small. We take pride in our expertise and attention to detail, ensuring that your HVAC system operates efficiently and that your indoor air quality remains high.
We offer a range of services, including ductwork repair, air duct cleaning, and HVAC maintenance, all designed to keep your system running smoothly and your home comfortable. Whether you need help fixing a hole in your ductwork or require more extensive repairs, you can trust us to get the job done right.
Take Action Now!
Repairing holes in your HVAC ducts is an important part of maintaining your home’s heating and cooling system. Whether you choose to take the DIY approach or enlist the help of American Air Duct Services, addressing these issues promptly can save you money on energy bills and improve the overall comfort and air quality in your home. If you’re unsure about repairing your ducts or need expert assistance, contact us today for a consultation or to schedule an appointment. We’re here to help!