Dryer vent cleaning is an essential home maintenance task that often goes overlooked. Over time, lint and debris can accumulate in the vent, restricting airflow and increasing the risk of fire. One of the most efficient ways to clean your dryer vent is from the roof, especially if your vent runs vertically or is otherwise difficult to reach from the ground. Cleaning the dryer vent from the roof ensures that you remove any build-up that could potentially clog the system and cause issues.
At American Air Duct Services, we specialize in cleaning dryer vents safely and efficiently. Our team of certified professionals is equipped with the tools and expertise needed to tackle any dryer vent cleaning job, whether from the roof or elsewhere. In this article, we’ll explain the process of cleaning your dryer vent from the roof, highlighting the importance of regular maintenance and offering step-by-step guidance on how to do it yourself.
Why Dryer Vent Cleaning is Important
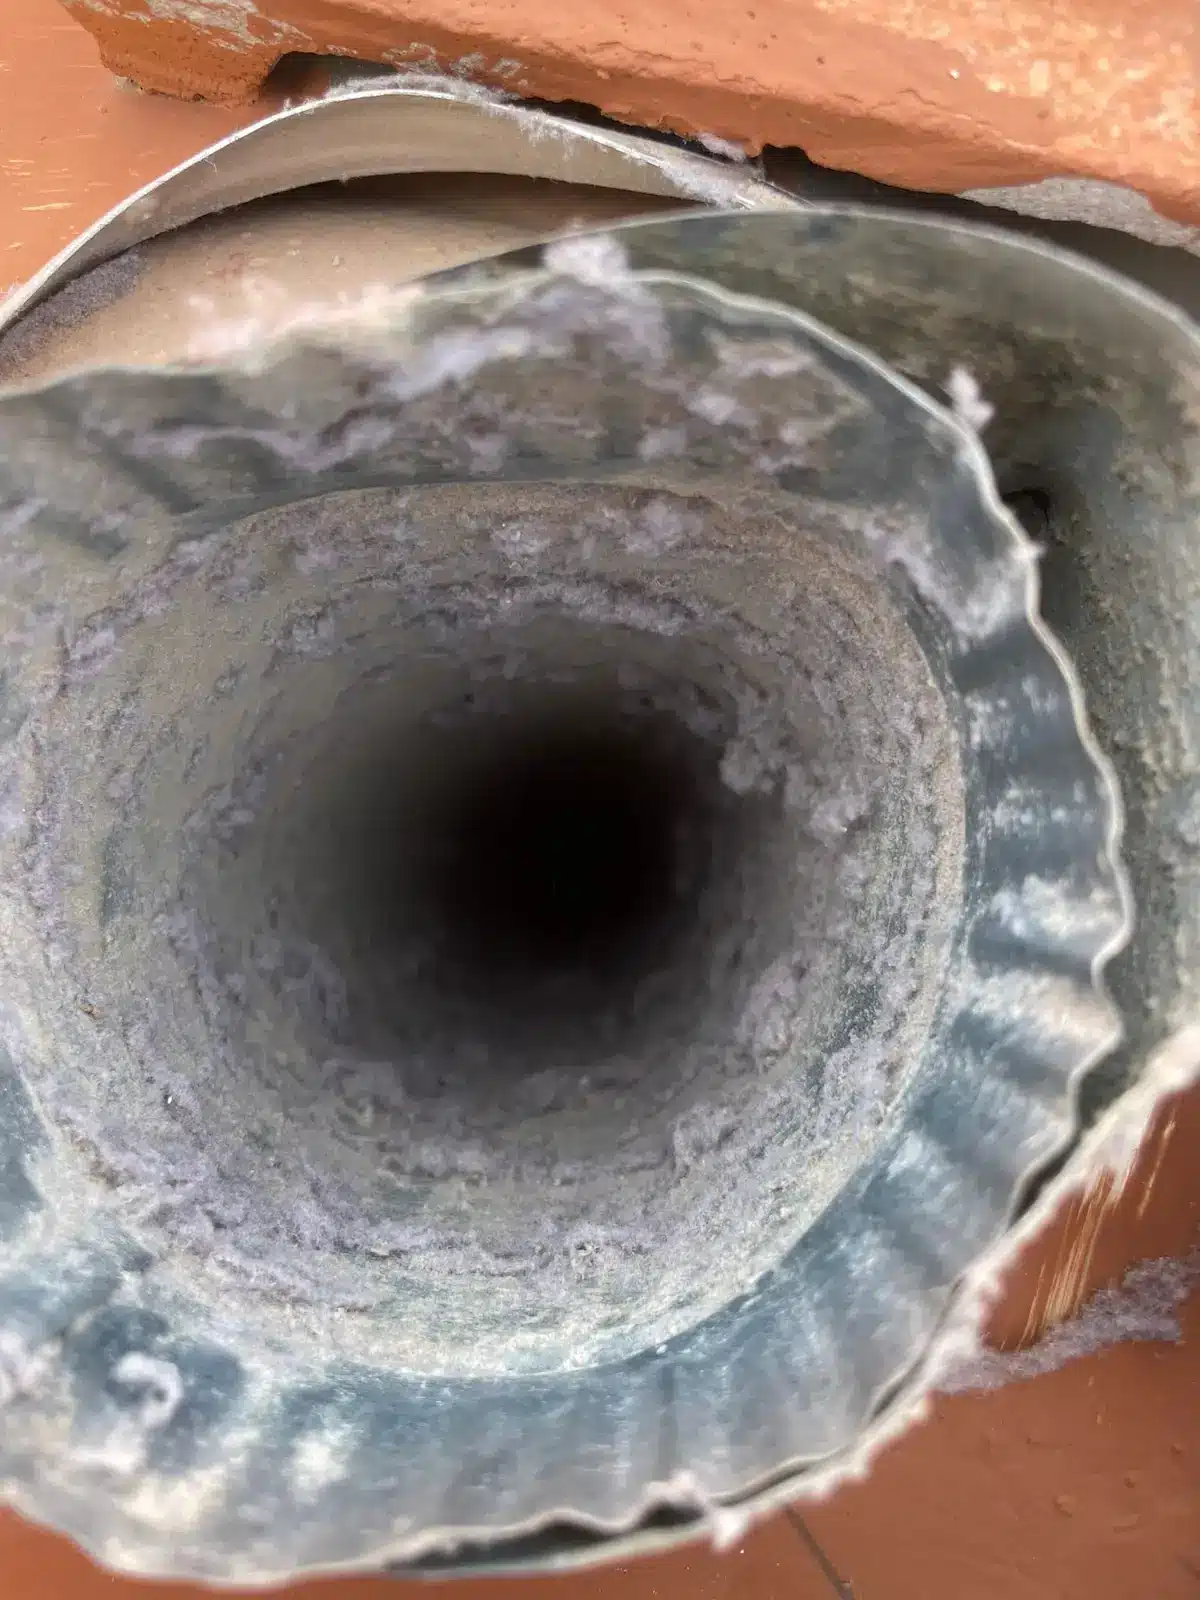
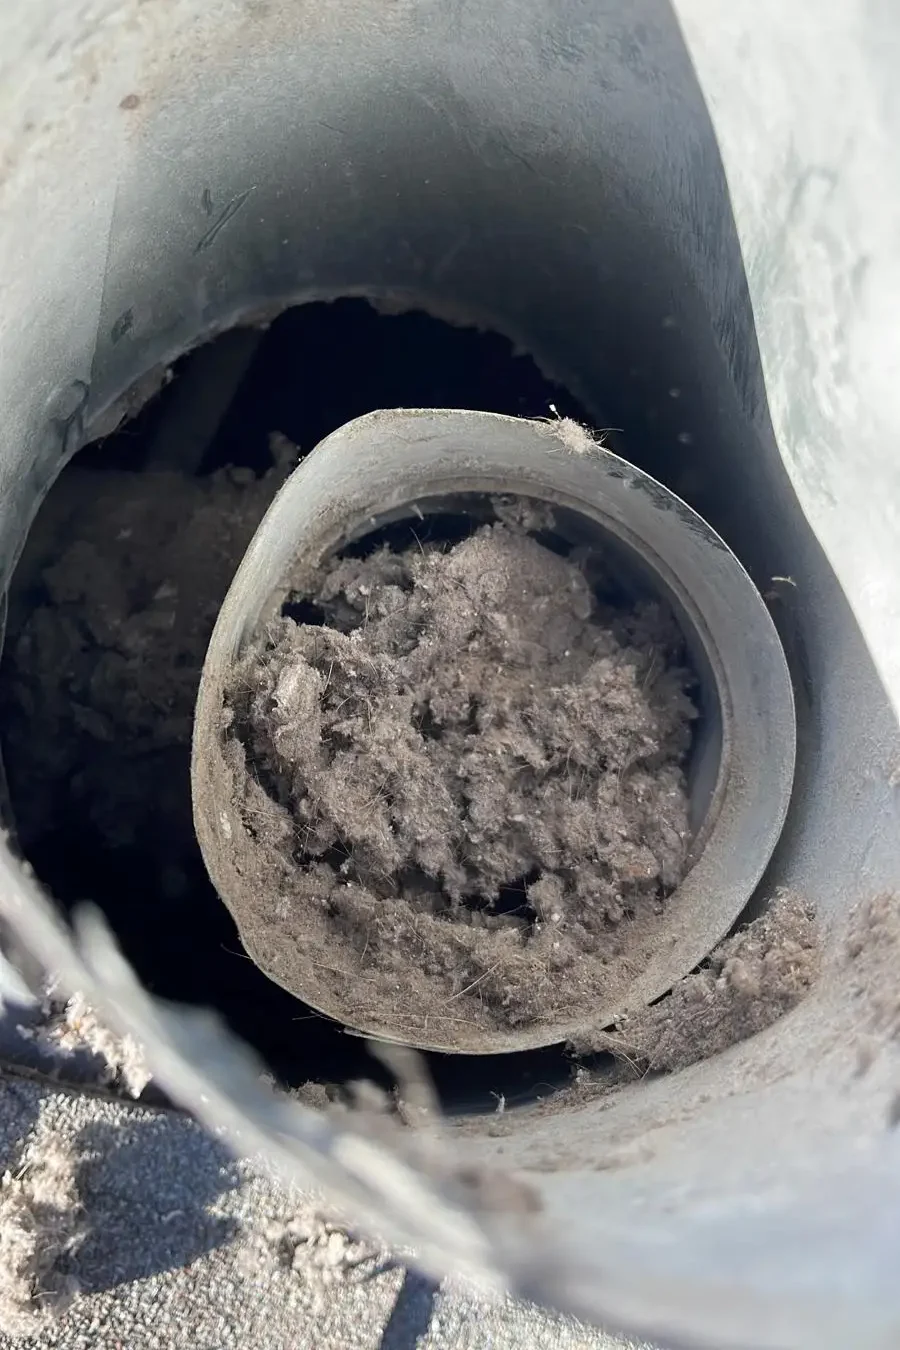
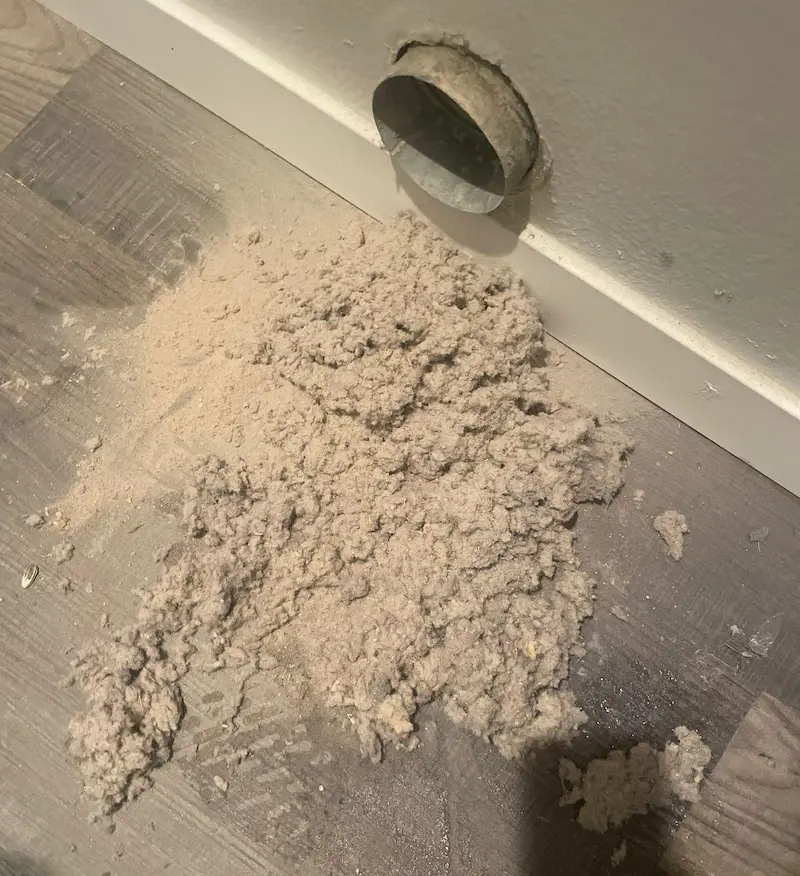
Before diving into the process of cleaning your dryer vent from the roof, it’s important to understand why it’s a crucial task. Over time, lint can accumulate in the dryer vent, especially in areas that are hard to reach. When this happens, it can create several serious problems:
- Fire Hazard: The buildup of lint is highly flammable. According to the U.S. Fire Administration, failure to clean the dryer vent is one of the leading causes of dryer fires.
- Reduced Efficiency: A clogged vent reduces the airflow, making your dryer work harder. This not only increases your energy bills but also shortens the lifespan of your dryer.
- Excess Moisture: If your vent is clogged, it will prevent moisture from escaping, which can lead to mold and mildew buildup in your home.
- Longer Drying Times: When airflow is restricted, it takes longer for your clothes to dry. This can become frustrating, especially if you rely on your dryer daily.
Cleaning your dryer vent regularly (at least once a year) can help you avoid these issues, ensuring that your appliance runs efficiently and safely.
Tools You’ll Need for the Job
Before you begin cleaning the dryer vent from the roof, it’s essential to have the right tools. Here’s a list of what you’ll need:
- Ladder: A sturdy ladder will be necessary to reach the roof safely. Make sure it’s tall enough to allow you to reach the vent opening.
- Dryer Vent Cleaning Kit: These kits typically include a long brush, flexible rods, and attachments designed to remove lint and debris from your vent. They’re available at most hardware stores and online.
- Vacuum Cleaner with Hose Attachment: A vacuum with a hose attachment is helpful for sucking up any loose lint and debris from the vent.
- Safety Gear: It’s important to wear gloves, a dust mask, and safety glasses to protect yourself from debris and dust while cleaning.
- Screwdriver: You may need this to remove the vent cover or disconnect the vent from the ductwork.
Step 1: Ensure Your Safety First
Before you climb up to the roof, safety should be your top priority. Make sure the ladder is stable and positioned on a level surface. Ask someone to hold the ladder for extra security while you’re on it. If the roof is steep or difficult to navigate, consider hiring a professional to perform the cleaning.
Make sure to wear the proper safety gear, including gloves and a dust mask. The task will stir up a lot of dust and lint, and you want to protect your skin and lungs from any allergens or irritants.
Step 2: Locate the Dryer Vent Exit on the Roof
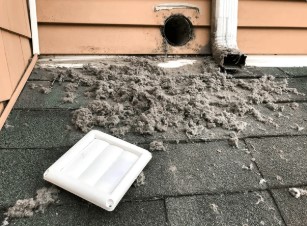
The next step is locating the exit point of your dryer vent on the roof. This can be tricky if you don’t know exactly where it is. Some houses have the vent exit on the side, while others have it directly on the roof. You may need to check near the peak of your roof or follow the vent’s route from the dryer.
Once you’ve located the vent exit, you’ll want to remove the cover. Most covers can be removed by simply unscrewing the screws holding them in place. Be careful not to damage the cover during this step, as it will need to be reinstalled after the cleaning.
Step 3: Insert the Cleaning Brush and Start Scrubbing
Now it’s time to begin cleaning the vent. If you have a dryer vent cleaning kit, you’ll want to attach the brush to the flexible rods included in the kit. Begin by feeding the brush into the vent opening on the roof. Depending on the length of your vent, you may need to attach multiple rods to reach the entire length of the duct.
Gently rotate the brush as you push it through the vent. This will loosen the lint and debris that have accumulated inside the vent. As you scrub, make sure to move slowly and carefully to avoid damaging the ductwork. Be thorough and scrub as much of the vent as possible, especially areas that feel particularly clogged or sticky.
Step 4: Remove the Lint and Debris
After you’ve scrubbed the vent, it’s time to remove the lint and debris. You can do this by using the vacuum cleaner with a hose attachment. Position the vacuum nozzle near the vent opening and suck out as much lint as possible. If your cleaning kit includes a vacuum attachment, use it to clean out any remaining debris that’s stuck inside the ductwork.
You may need to repeat the process a few times to ensure all the lint and debris are removed. Pay special attention to the areas near the exit point where lint tends to accumulate most.
Step 5: Reassemble the Vent and Cover
Once the vent is clean, it’s time to reassemble everything. Carefully reinstall the vent cover that you removed earlier. Be sure to tighten the screws securely to prevent the cover from coming loose during use. Once the cover is in place, double-check that the vent is properly sealed to ensure no air leaks.
Step 6: Test Your Dryer
After completing the cleaning, it’s essential to test the dryer to make sure everything is functioning correctly. Turn the dryer on for a cycle and check for any signs of airflow improvement. The dryer should dry clothes more quickly, and you should notice that the airflow is stronger. If the dryer still isn’t working efficiently, you may need to inspect the vent for any remaining clogs or hire a professional to take a closer look.
When to Call a Professional
While cleaning your dryer vent from the roof can be a DIY task, there are times when it’s best to call in the professionals. If your vent is extremely clogged, has a significant build-up of lint, or has a significant bend, cleaning it yourself may not be effective. In such cases, American Air Duct Services is here to help.
Our team of experts has the experience and specialized tools to thoroughly clean dryer vents, even those that are difficult to access. We ensure that your vents are cleaned safely and efficiently, preventing potential fire hazards and improving the overall efficiency of your system.
Why Choose American Air Duct Services?
At American Air Duct Services, we are committed to providing top-notch dryer vent cleaning and air duct services. Our certified professionals have years of experience working with HVAC systems, and we prioritize safety, efficiency, and customer satisfaction. Whether you need a simple dryer vent cleaning or a more extensive HVAC system inspection, we are here to help.
Our team follows the latest safety standards and uses the best equipment to ensure your home is safe and comfortable. Don’t risk a fire hazard by neglecting your dryer vent—contact us today to schedule a cleaning or consultation.
Your Next Steps
Cleaning your dryer vent from the roof is a simple yet vital home maintenance task. It helps improve the efficiency of your dryer, reduces the risk of fire, and ensures the air in your home stays clean and healthy. By following the steps in this guide, you can keep your dryer vent in good condition and prolong the life of your HVAC system. However, if you’re not comfortable with the task or need professional assistance, American Air Duct Services is here to ensure the job is done right.